YouTube video editing is the most time consuming process for many content creators - but exactly how long does it usually take to edit a YouTube video from start to finish?
Generally, you can expect to spend 30 minutes to 1.5 hours editing for every minute of finished video. Of course, this all depends on your editing style, pre-editing preparation, and experience level.
Today we'll take a look at the various elements of editing YouTube videos, plus a few tips on how to make the video editing process faster and more efficient.
Pre-Editing Preparation
The best video editors know that taking the time to prepare yourself properly before you even set up your camera makes the biggest difference.
Before we get into the editing process, let's take a look at pre-editing preparation and how it can affect overall editing time and workflow efficiency.
Scripting & Storyboarding
Even before you begin filming, you should have a well-planned script and a rough storyboard to help you visualize the final video.
Preparing a decent script ensures that you waste less time fumbling with your words, which saves a ton of time behind the scenes.
A storyboard can help you determine what types of B-roll to include in your video and where to intersperse it.
Organizing Your Raw Footage
The more raw footage you have to sort through, the more time it will inevitably take to edit YouTube videos. Save future you some valuable time and organize your clips properly.
Create a labeling and filing system that allows you to access footage easily - ideally without having to open each clip - so that you can find what you need quickly and efficiently.
For example, you could name each file briefly based on the content it contains and then add it to a folder depending on the type of footage it is (A-roll, B-roll, etc).
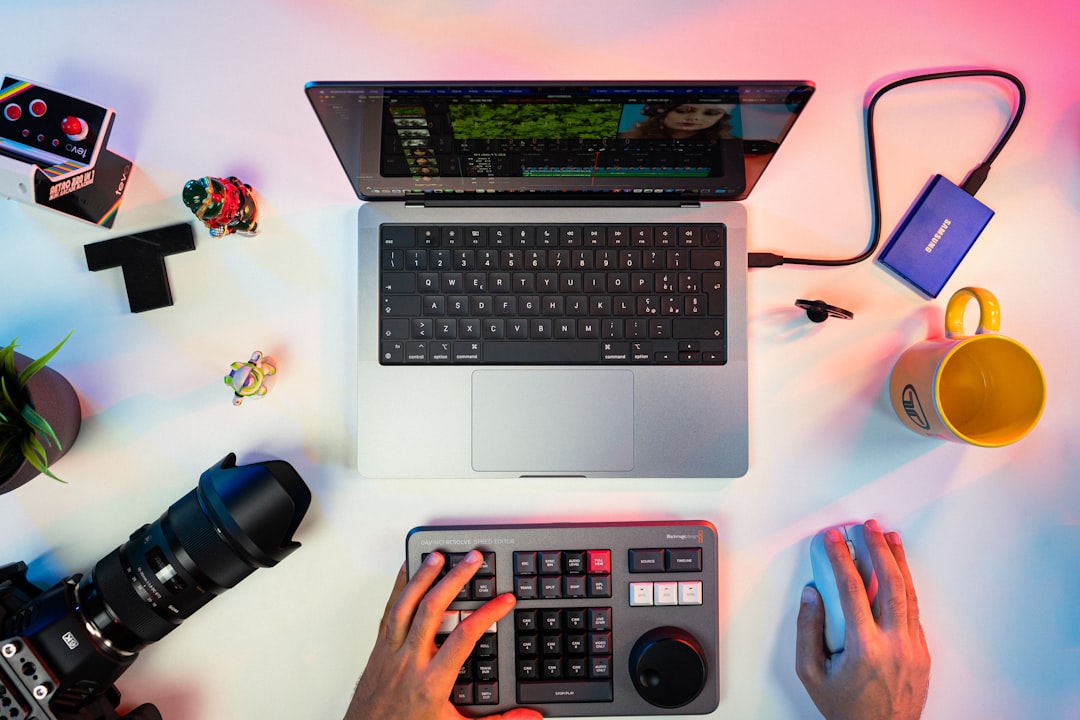
Setting Up Your Editing Environment
The final and arguably most important part of pre-editing preparation is setting up your editing environment. This includes choosing the right video editing software for your needs, and customizing your workspace for maximum efficiency.
There are a variety of video editing software options out there, and the right choice depends on your budget and level of experience.
If you're just starting out, using a free option like iMovie is likely to be your best bet. Free software options are usually not bogged down by extraneous tools and features, allowing you to get a feel for the basics of video editing before taking the plunge with something pricier, like Final Cut Pro.
Familiarize yourself with the basics of whichever video editing services you use to cut down on any confusion that could eat away at your overall editing time.
Your general work surroundings are also important when it comes to editing videos. Creating a desk space that is free from clutter and distraction will help you reach a state of flow as you edit videos, allowing you to focus more readily on the task at hand.
The Editing Process
Now that you've prepared yourself for the video editing process, let's take a look at what goes into YouTube video editing. As we've touched upon earlier, you can expect to spend 30 minutes to 1.5 hours editing for every minute of finished video.
This takes into account the basic editing process we'll be outlining below, as well as any advanced processes that video editors might include, plus the review, revision, export, and upload processes.
Let's get started.
The Basic Editing Process
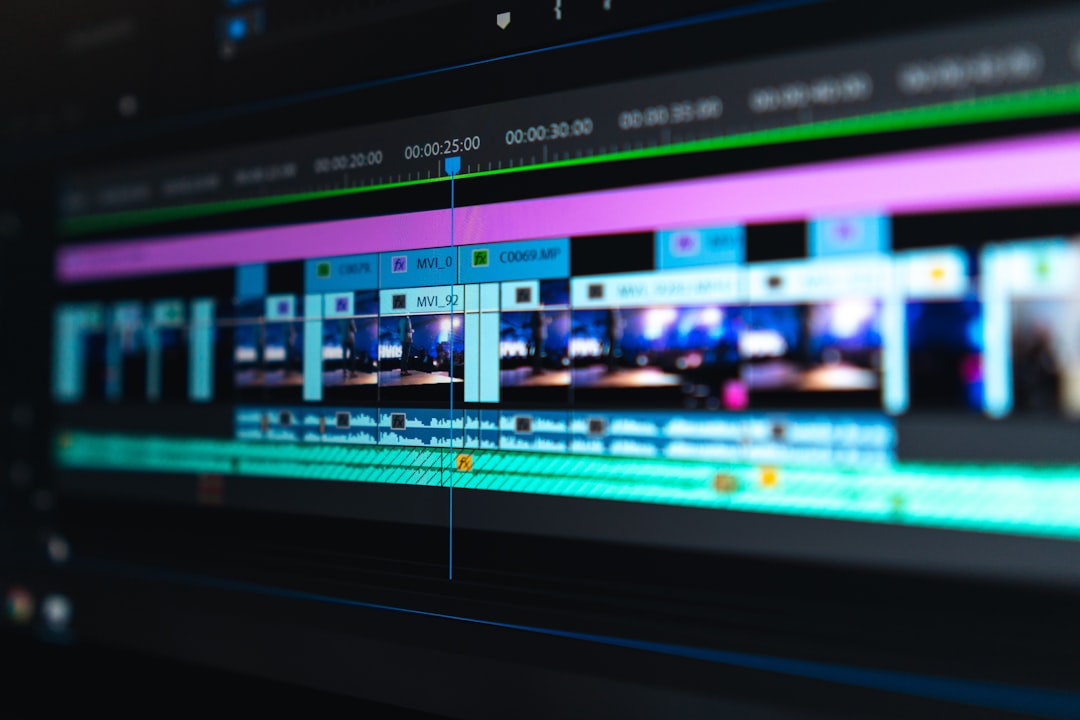
The basic editing process used by any video editor includes the first cut, arranging clips, and sound editing.
The first cut entails sorting through your footage, choosing the clips you want to include, and estimating the overall length of your video based on what you've chosen.
Once you've gathered the clips you want to use, it's time to arrange them. This not only includes the general sequence that the clips will appear in, but the duration of each clip, the transitions between clips, and the overall pacing and flow of the footage.
Finally, it's time to edit sound. This includes synchronizing your audio with the video footage, and adding any music, sound effects, and voiceovers. Once you've added the sound of your choice, you'll then review your work and balance out the audio to remove any distracting background noise, adjust the volume, and perhaps even speed up or slow down the audio.
Advanced Editing & Enhancements
Advanced editing includes color correction and color grading, special effects and graphics, and text overlay.
These are often time consuming and more advanced editing processes, but are often considered more enjoyable since there is more room for creative experimentation.
Review & Revision
With your video edited and enhanced, it's time to review it and check for anything you might have overlooked the first time. This includes overall flow, choppy edits, adjusting the duration of certain clips, and adjusting audio accordingly.
At this point in the process, it's important to get external feedback. You've most likely been staring at your screen for hours, so chances are there's something you've overlooked. Get a friend, family member, or coworker to review the video and point out anything that might not have caught your eye.
Make any necessary changes before moving on to the final step: exportation and uploading.
Export & Upload
Before you upload your video to YouTube, you'll need to export it from your video editor. Every video editor has unique settings for this, but generally the factors that will influence rendering time including the video length, the effects added, and the resolution you've chosen.
If you find that video rendering is taking way too long, adjust the resolution and any effects you've added to see if that improves things.
The Upload Process
Finally, it's time to upload your video to YouTube. This process includes:
-
Uploading the actual file
-
Updating the metadata
Adding a thumbnail, -
Including any annotations or timestamps.
You'll also want to share your published video to any relevant social media profiles to help spread the word.
Congratulations, you've finished!
Tips For Faster Editing

Quality editing takes time, but there are a few ways you can make your workflow more efficient so that you can focus on the creative aspect of the process rather than the monotonous tasks that come with it.
Use Keyboard Shortcuts & Macros
Depending on your device, you can set up a variety of keyboard shortcuts or macros to help you complete frequently used processes.
Browser extensions like iMacros work on both Google Chrome and Firefox, while workflow tools like Keysmith allow you to create custom presets within your device (not just through your browser).
For example, you can use macros while editing videos to delete gaps between clips or change video speed in just a single click.
It's also a good idea to familiarize yourself with the specific keyboard shortcuts, or hotkeys, of the editing software you're using. This can help you undo, redo, copy, paste, delete, and more all with just the press of a button or two.
Utilizing External Media Sources
You can take your editing style to the next level by utilizing external media sources, like royalty free music or professional standard B-roll from dedicated platforms like Epidemic Sound and Pixabay.
You can also seek out custom fonts for your video thumbnails, color grading presets, and much more.
Take some time to observe your favorite creators - oftentimes they'll share their favorite sources in their YouTube description boxes!
Outsourcing & Collaborative Editing
If you'd rather focus on the fun part, why not outsource certain editing tasks or collaborate with another editor to make the process more efficient and effective?
You can hire someone to help organize your files, edit certain elements (like sound or color grading), or put together a rough edit so that you can focus on the final details.
Sites like Fiverr are a great place to find professional editors to help with specific tasks like this.
No matter what route you opt for, the way you edit Youtube videos will be personal to you and your editing style. The more practice you put in, the more efficient you'll become over time.